
WordPress is one of the most popular Content Management Systems where you can create mind-blowing websites of your own choice. You will get an amazing dashboard for managing your WordPress website. By logging in to your dashboard, you can manage almost everything on your website. By default, WordPress creates a common WordPress login panel with your domain name followed by /wp-admin. But there is a great chance of getting unwanted login attempts from hackers with this common URL. Today we will guide you on how to change your WordPress admin login URL. We will use WPS Hide Login plugin to change the URL. Let’s get started.
Step 1: Log in to your WordPress Dashboard.
Step 2: Navigate to Plugins >> Add New and search WPS Hide Login plugin.
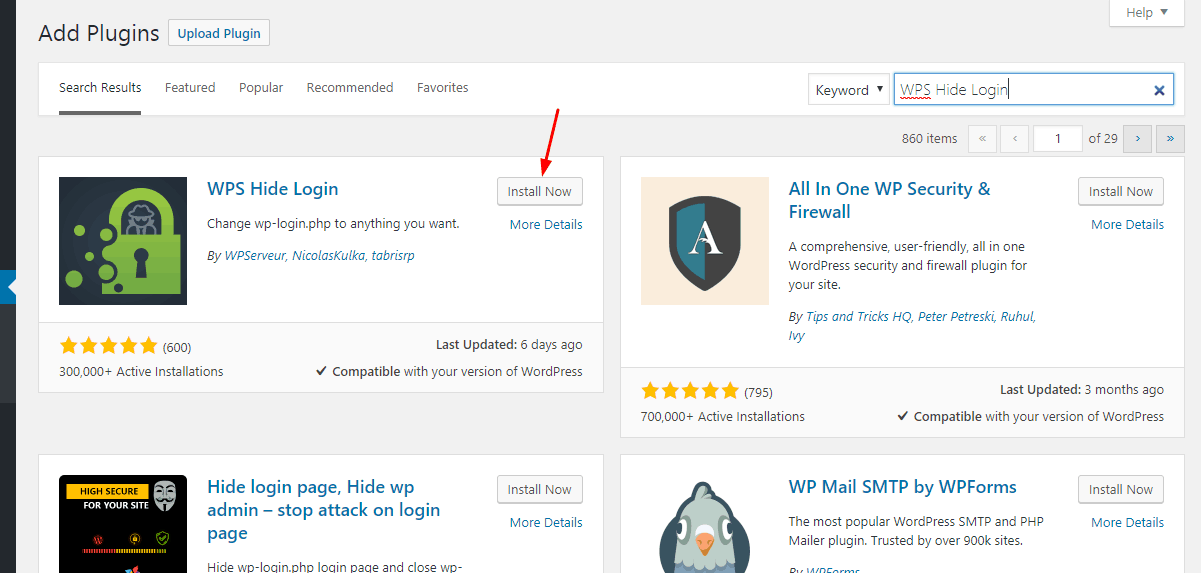
Step 3: Install and activate the plugin.
Step 4: Navigate to Settings >> General >> WPS Hide Login.
Step 5: Insert your expected URL that you want to use to login to your WordPress Dashboard.
Note: the custom login URL should contain the word login. For example nexbblogin or webxxlogin etc. Otherwise, the WordPress admin page will either return the 404 error or will show the Your browser doesn’t support cookies error.
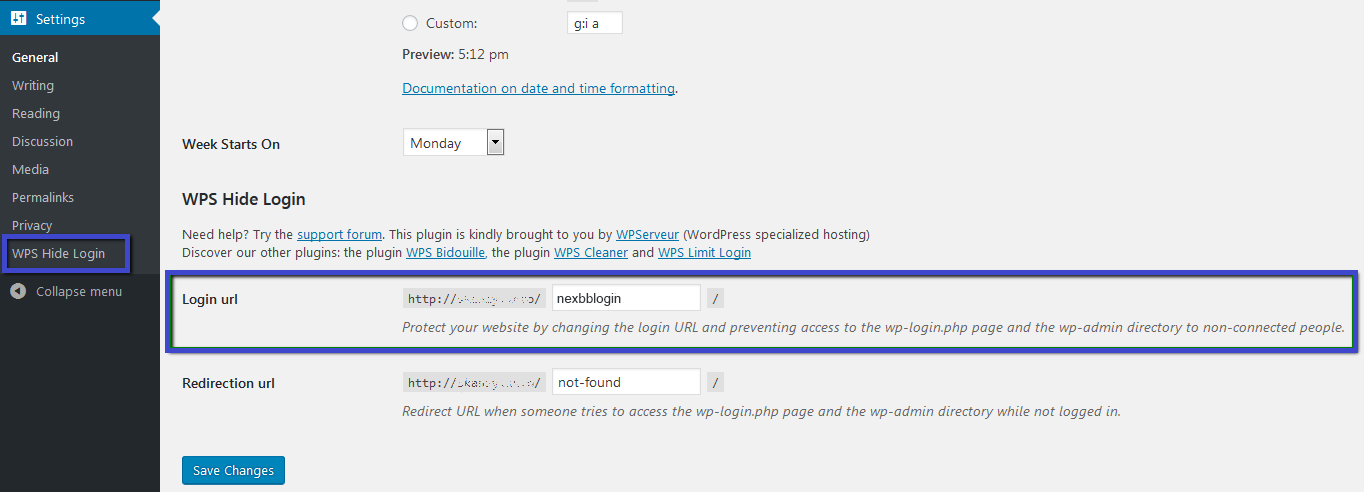
Step 6: When you are all set, don’t forget to Save Changes.
Now you will be able to log in with this URL: www.example.com/nexbblogin/
If you wish to get back to the default login URL, just deactivate the WPS Hide Login plugin. Your Login URL will be www.example.com/wp-login.php and the admin URL will be www.example.com/wp-admin.
Now you know how to change the WordPress admin login URL and get back to the default URL.
We hope this tutorial helps you find the perfect solution. If you like our tutorials, definitely you’ll love our support. All VernalWeb hosting plans include 24/7 support from our amazing in-house support staff. Check out our WordPress hosting plans and have your website migrated today!