
Anyone can purchase a hosting plan that can be a dedicated server, VPS hosting or Reseller hosting. If you want to create a cPanel account using WHM you are enabled to do so. Before we come to the steps that will explain how to create a cPanel account let us first know,
what is a cPanel?
cPanel is fundamentally a web hosting control panel that is Linux based providing a graphical interface and tools of automation that are designed to make the process of hosting a website simple. cPanel makes use of a 3 tier structure that offers capabilities for admins, reseller and end-users who are site owners to regulate the various aspects of website and server management through a web browser.
Who can use cPanel?
There are no hurdles to who can use cPanel. It does not matter if it is a small personal website or a large corporation website. Anyone can use cPanel along with their Linux hosting i.e. shared hosting, Reseller, VPS and Dedicated server hosting.
Why to select cPanel?
cPanel is a dependable control panel that has stood the test of time.
cPanel provides unbeatable support with a dedicated team that always has your back.
cPanel is easy to use as the interface along with the navigation is very user-friendly.
cPanel is loaded with quality features that are second to none.
cPanel enables hassle free migration from other control panels to cPanel.
Here is a step by step guide on how to create cPanel account in WHM
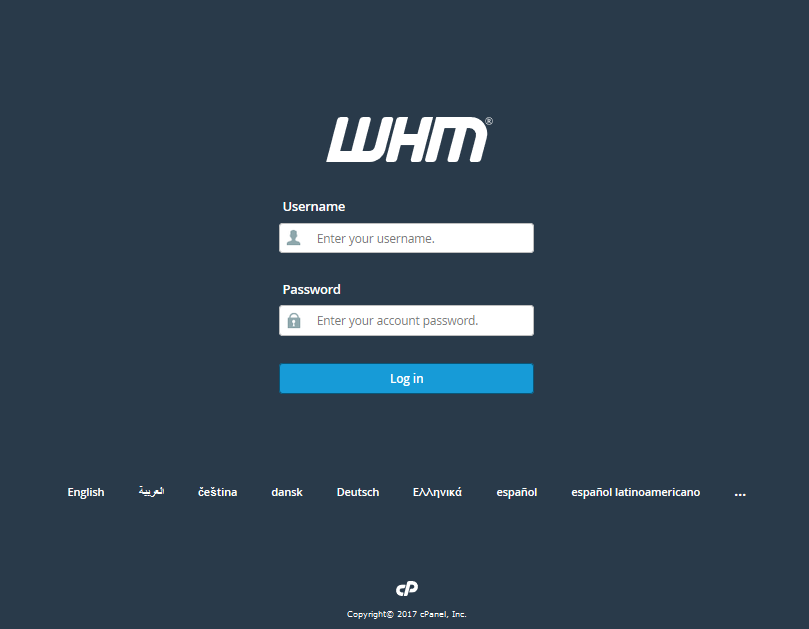
Step 1. You have to login to your Webhost Manager (WHM).
Step 2. The menu on the left under the “Account Functions”, click on “Create a New Account”
Step 3. Then fill in the details to create the new account.
Domain Information
Enter the primary domain name on the cPanel account
Enter the Username and Password for the cPanel account.
Enter the email address that will be associated with the cPanel account.
Package
WHM permits you to create a package, which makes it simple to manage cPanel accounts.
For example, you may create an intermediate plan like the one VernalWeb offers in the cPanel web hosting. You can set limits to the plan which you created like no: of addon domains, Disk Space, Bandwidth, etc. If you have not already set any packages, you can do it by the Select Manually Option and decide what will be the package limits.
Settings
Select which theme of cPanel you want to assign to the user and select the suitable language for the user.
Reseller Settings
If you want to give Reseller privileges to the account select “Make the account a reseller”
If you only want the user to manage own account, use the below option which is “Make the account own itself” option. Once completed with the Reseller Setting scroll to the next setting.
DNS Settings
You can decide how to configure the nameservers of the domain on the server. If the nameservers for the domain name are on another server, select the option Use the nameservers specified at the Domain’s Registrar
Mail Routing Settings
You need to decide how the emails must be handled for the specific domain. The emails must be delivered locally or the server must look for the external MX records. If one is not certain about the mail routing setting, then use Auto detect option.
Step 4. Once you have filled all the details according to the requirements, click the “Create” button. A new cPanel account has been created.
We hope this tutorial helps you find the perfect solution. If your like our tutorials, definitely you’ll love our support. All VernalWeb hosting plans include 24/7 support from our amazing inhouse support staff. Check out our web hosting plans and have your website migrated today!
Leave a Reply
You must be logged in to post a comment.