
DNS Zone Editor is used to add, delete or update any DNS record for the domain. You can do all of them in a single place with Zone Editor. Let’s see how to use the DNS Zone Editor in cPanel.
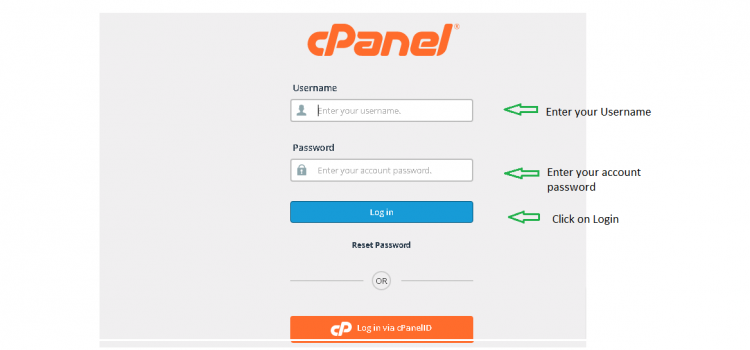
Step 1: Login to cPanel account.
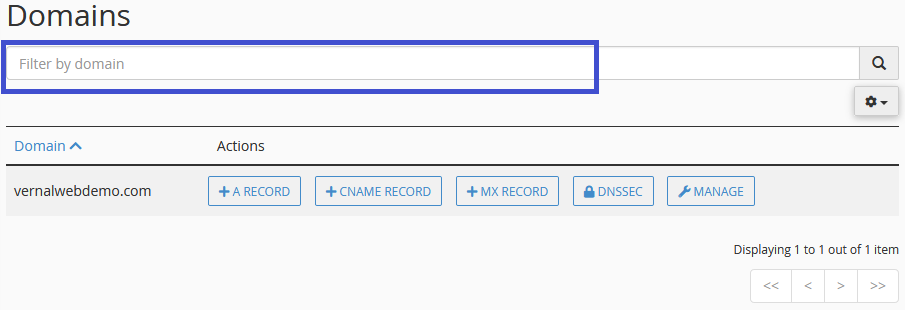
Step 2: Go to DOMAINS >> Zone Editor

Step 3: If you have more than one domain hosted, you can search the domain here.
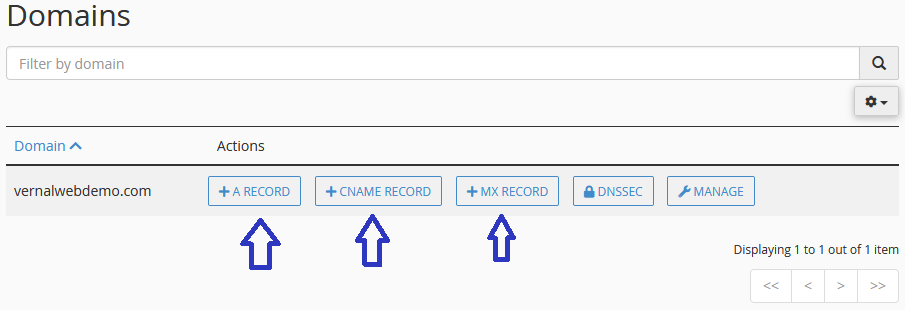
Step 4: You can add A Record, CNAME Record and MX Record from here.
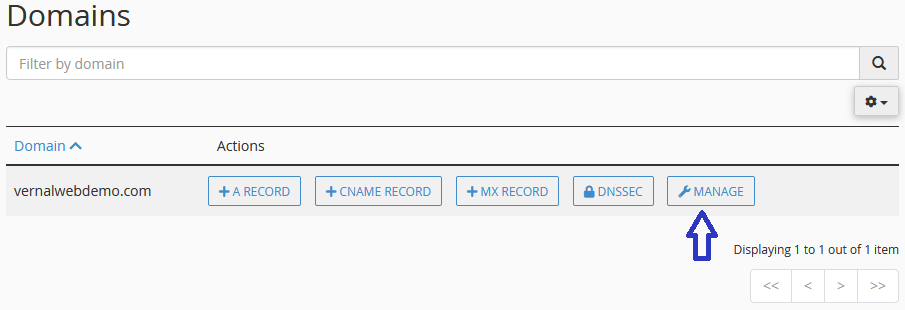
Step 5: If you want to edit or delete any DNS Record, go to the MANAGE option.
Step 6: If you want to delete a DNS Record, just simply click on the Delete option.

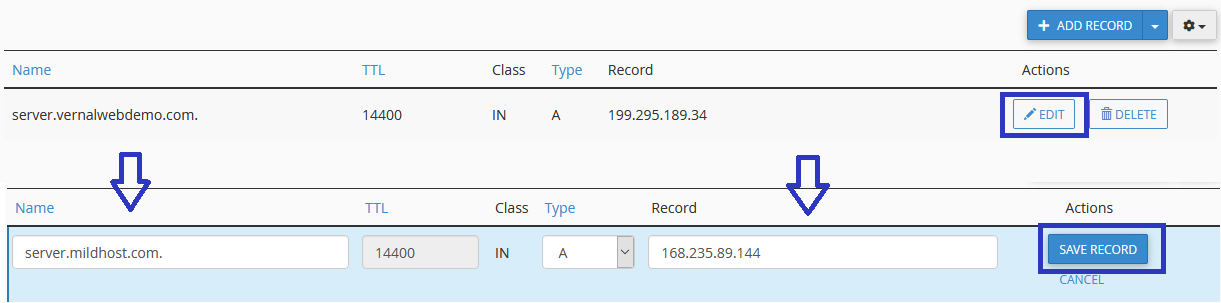
Step 7: To edit or update a DNS Record, click on the Edit option. Now update the necessary information and click on the “Save Record” button.
Note: Name server and DNS changes may typically take 12 to 24 hours to update, but it may take up to 72 hours to get the full effect.
We hope this tutorial helps you find the perfect solution. If your like our tutorials, definitely you’ll love our support. All VernalWeb hosting plans include 24/7 support from our amazing inhouse support staff. Check out our web hosting plans and have your website migrated today!