
Today we will show you how to register private nameservers for a domain name registered with VernalWeb. This assumes that you have a Reseller Hosting, VPS Hosting or Dedicated Hosting service with VernalWeb.
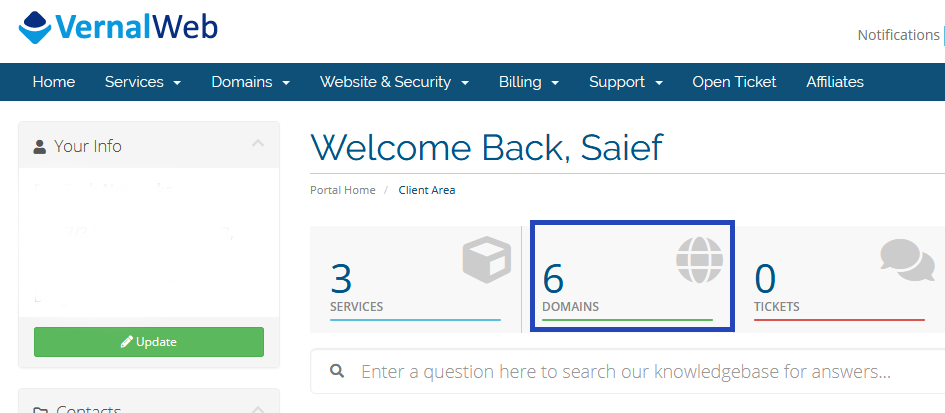
Step 1: Login to your VernalWeb Client Area.
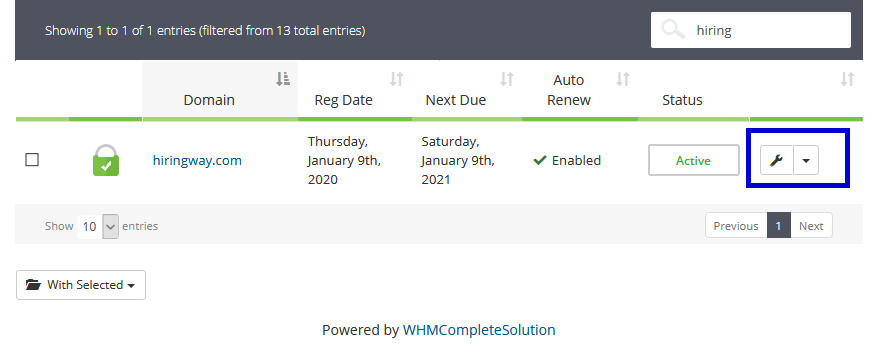
Step 2: Go to the DOMAINS section.
Step 3: Click on the settings icon located right to the domain name.
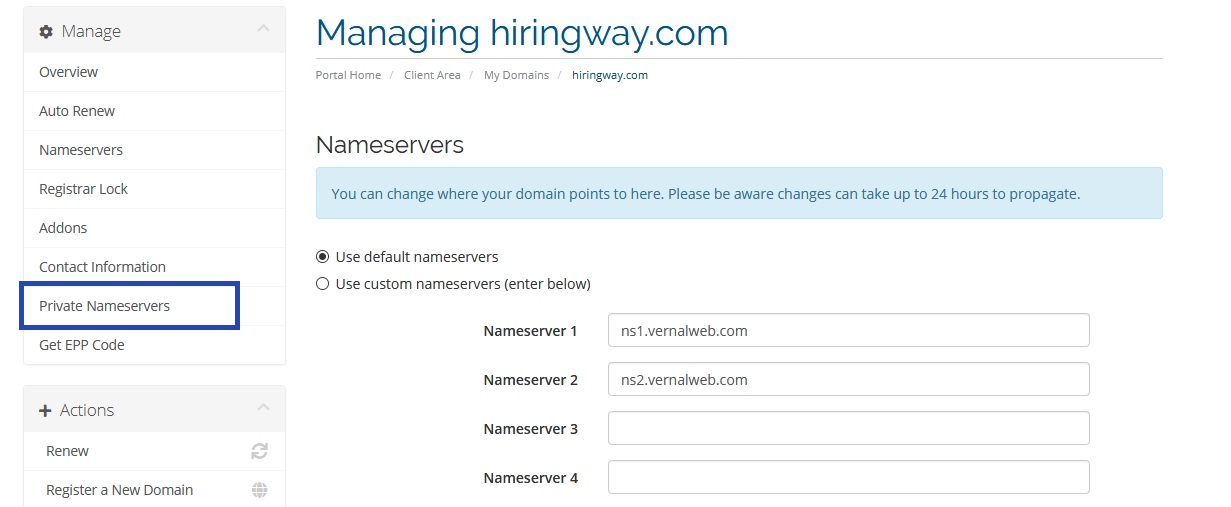
Step 4: Now click on the Private Nameserver in the left menu.
Step 5: Register your primary Nameserver Name and click on the Save Changes button.
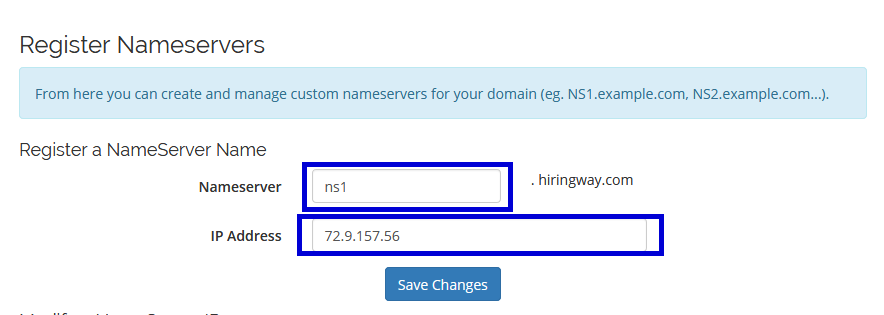
For “Nameserver” insert ns1 in the box.
For “IP Address” insert our primary nameserver IP address: 72.9.157.56
Step 6: For secondary nameserver, insert your second nameserver and IP as like step 5 and click on the Save Changes button..
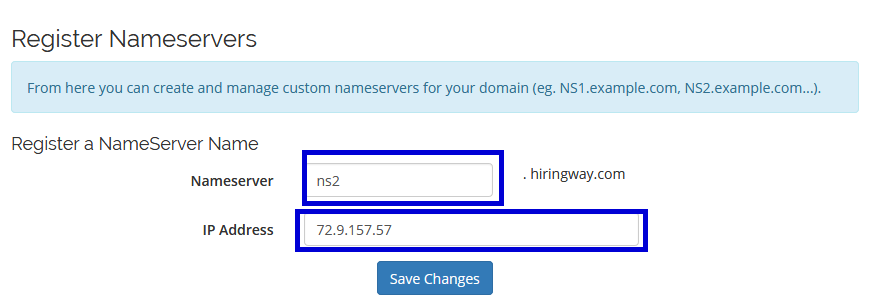
For “Nameserver” insert ns2 in the box.
For “IP Address” insert our primary nameserver IP address: 72.9.157.57
If you want more nameservers, register them in the same way. You will get confirmation message each time your nameserver is successfully registered.
This is how you can register private nameservers for your domain name.
We hope this tutorial helps you find the perfect solution. If your like our tutorials, definitely you’ll love our support. All VernalWeb hosting plans include 24/7 support from our amazing inhouse support staff. Check out our web hosting plans and have your website migrated today!