
cPanel is the most popular Control Panel for Linux based Web Hosting Services in Web Hosting Industry. All the things you need to get best out of your website is included in cPanel. File Manager is one of the most important features of cPanel. Using File Manager one can easily upload & manage files. Here we’ve discussed how to upload files using File Manager.
How to upload files using File Manager:
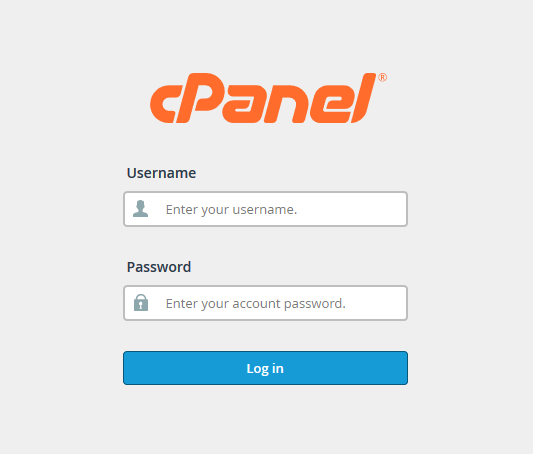 STEP 1: Log into your cPanel account using your Username & Password.
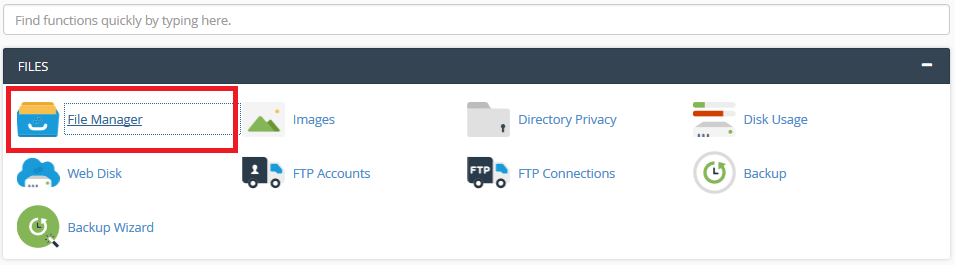
STEP 2: Search for ‘FILES’ section inside your cPanel Account. Click on File Manager.
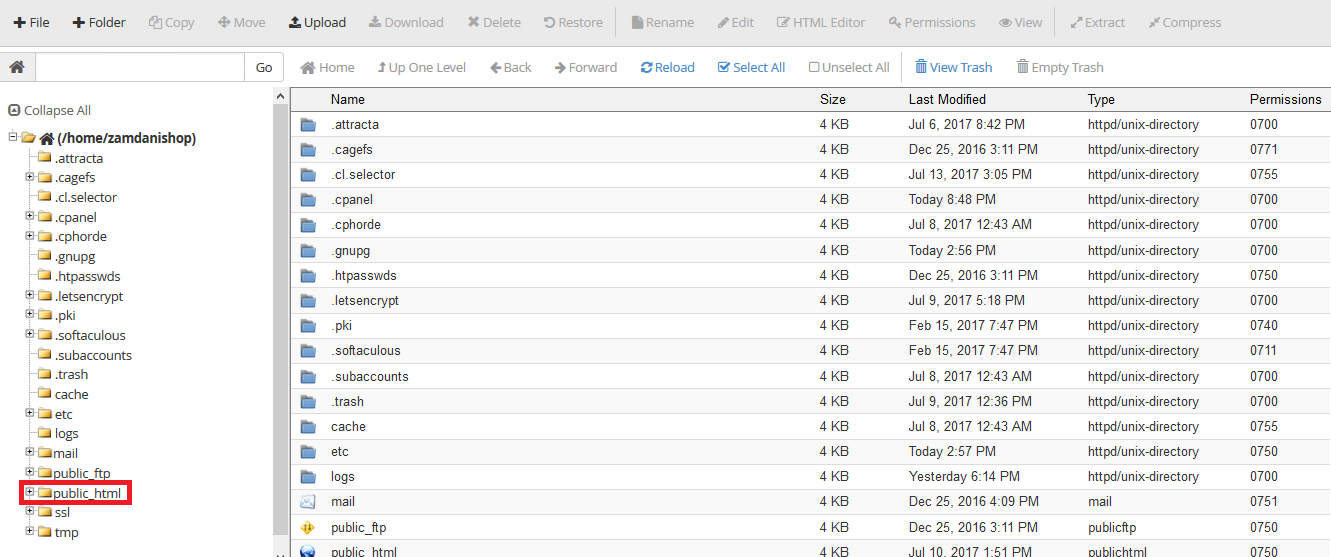
STEP 3: It will bring you to a new window. Click on ‘public_html’ on the left pan.

STEP 4: You will now be taken to the public_html folder where your all web files are in. Click on ‘Upload’.
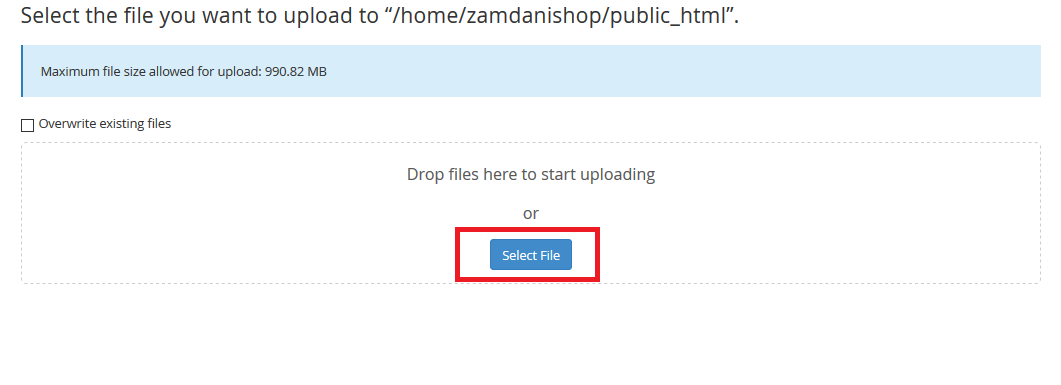
STEP 5: On the upload screen click on ‘Select File’ button. It will take you to the upload wizard.

STEP 6: Select the file you want to upload, click on ‘Open’.
Congrats! You’ve uploaded a file using File Manager. Upload process may take some time according to the size of the file you’re uploading.
We hope this tutorial helps you find the perfect solution. If your like our tutorials, definitely you’ll love our support. All VernalWeb hosting plans include 24/7 support from our amazing inhouse support staff. Check out our web hosting plans and have your website migrated today!
Leave a Reply
You must be logged in to post a comment.