In this guide, we will walk you through the process of installing and configuring the CSF Firewall on your Linux server. The CSF Firewall (ConfigServer Security & Firewall) is a powerful tool to enhance the security of your server by filtering incoming and outgoing traffic. It’s easy to set up and provides an extra layer of protection against malicious activities.
FYI, if you just purchased a VernalWeb VPS hosting or Dedicated Hosting, your CSF firewall comes installed by default.
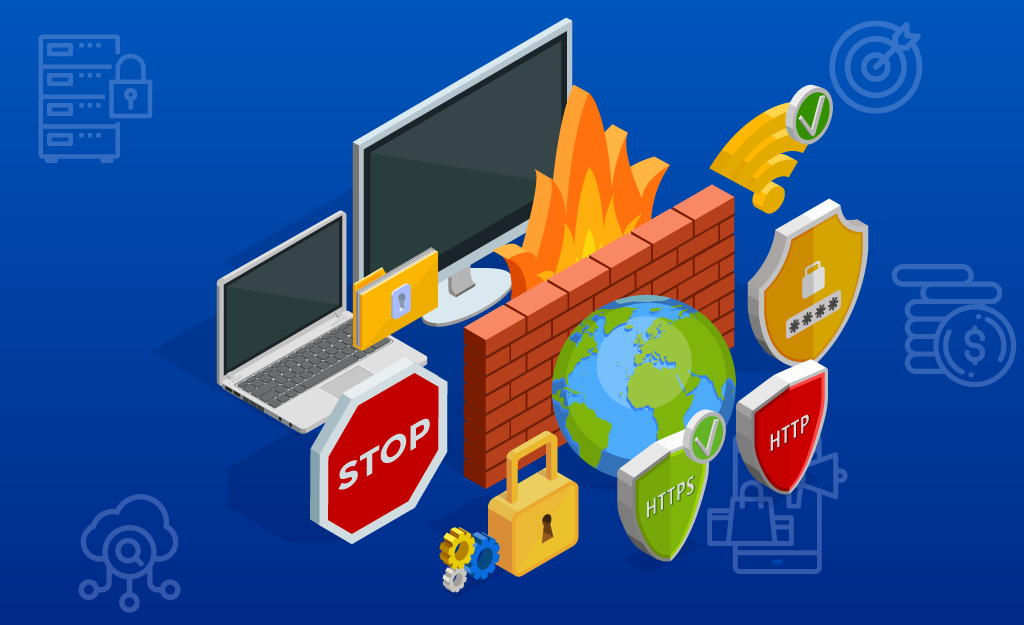
What Is A CSF Firewall?
CSF Firewall, also known as ConfigServer Security & Firewall, is like a digital bodyguard for your server. Imagine it as a virtual security gate that watches over the traffic entering and leaving your digital space. Its job is to determine who can get in and who’s not welcome. In simpler terms, it’s a digital security shield that helps protect your server from cyber threats, ensuring your data stays secure.
Benefits of Using a Firewall
Using a firewall, especially CSF Firewall, offers several key benefits:
- Enhanced Security: Think of it as locking your digital doors. A firewall adds an extra layer of defense against unauthorized access, helping prevent cyberattacks.
- Data Protection: Your personal information, passwords, and sensitive data remain safe from hackers and prying eyes.
- Malware Defense: A firewall can block malicious software from infecting your computer, reducing the risk of viruses and malware.
- Thwarting Unauthorized Access: It prevents unauthorized programs from connecting to your computer, reducing potential vulnerabilities.
CSF Features
ConfigServer Security & Firewall comes with a range of useful features:
- Traffic Control: It lets you decide which apps, services, and websites can communicate with your computer.
- Intrusion Detection: CSF can detect and stop suspicious activities, safeguarding your system.
- Brute Force Protection: It can halt repeated failed login attempts, preventing unauthorized access.
- Email Safety: It can help prevent unauthorized outgoing email, reducing the risk of spam and phishing.
Prerequisites to Install CSF Firewall
Before setting up CSF Firewall, make sure you have the following:
- Linux Server: Your computer or server needs to run a Linux operating system, such as CentOS or Ubuntu.
- Remote Access: You should be able to connect to your server remotely, usually through SSH (Secure Shell).
- Administrative Privileges: You need administrative rights to make crucial changes on your server.
With these prerequisites in place, you’re ready to empower your server’s security with CSF Firewall.
Install CSF Firewall
Before we dive into the CSF Firewall installation frenzy, let’s login to your SSH using SSH Client:
Step 1: Connect to Your Server
Using your preferred SSH client, connect to your server.
Step 2: Update Your Server
Before installing anything new, make sure your server package list is up to date. Run this command:
yum -y updateStep 3: Download CSF File
Run the following command to download the file:
wget https://download.configserver.com/csf.tgz
Step 4: Extract The File
Run this command to extract the CSF Firewall file:
tar -xzf csf.tgzStep 5: Navigate To The CSF Directory
Run this command line to navigate to the directory:
cd csfStep 6: Install CSF Firewall
Lastly, run the followinbg command to install CSF:
sh install.shOnce the installation is complete, you will see that in your terminal. Now it’s time to configure your CSF Firewall.
Configure CSF Firewall
In this guide, we will walk you through the process of configuring the CSF (ConfigServer Security & Firewall) on WHM (Web Host Manager). By integrating CSF with WHM, you can easily manage firewall settings for your server and ensure your server & hosting is fully secure.
Step 1: Access WHM
Log in to your WHM using credentials.
Step 2: Find CSF
- In WHM, search for “CSF” in the search bar located at the top left corner.
- Click on “ConfigServer Security & Firewall.”
Step 3: Configure CSF Firewall Settings
- Once inside CSF, you will find various tabs and options for configuring the firewall settings. Here are some key settings to configure:
- Firewall Configuration (Firewall tab): Review and adjust settings such as
TCP_IN,TCP_OUT,UDP_IN, andUDP_OUTto specify allowed ports and IP addresses. - Security and Server Hardening (Security Center tab): Enable or disable various security features like “Login Failure Daemon (LFD),” “SYN Flood Protection,” “Port Knocking,” and more.
- SMTP Settings (SMTP Settings tab): Configure settings related to outgoing email, such as SMTP_BLOCK and SMTP_ALLOWUSER, to prevent unauthorized email sending.
- Brute Force Protection (Brute Force Protection tab): Set up protection against brute force attacks by configuring settings for “cphulkd” and “Login Failure Daemon (LFD).”
- Firewall Configuration (Firewall tab): Review and adjust settings such as
- Make sure to carefully review and adjust each setting according to your server’s security requirements.
Step 4: Allow and Block IP Addresses
- To allow specific IP addresses or IP ranges, navigate to the “CSF” section in WHM and click on “CSF Allow Lists.”
- Enter the IP addresses you want to allow and save your changes.
- To block IP addresses, navigate to the “CSF” section and click on “CSF Deny Lists.”
- Add the IP addresses you want to block and save your changes.
Step 5: Restart CSF and LFD
- After making changes to CSF settings, it’s important to restart CSF and the Login Failure Daemon (LFD) for the changes to take effect.
- In WHM, navigate to the “CSF” section and click on “Restart csf+lfd.”
Step 6: Verify CSF Configuration
- To ensure that your CSF settings are applied correctly, navigate to the “CSF” section and click on “View iptables.”
- This page will display a summary of your current firewall rules, allowing you to verify the configuration.
Update CSF to latest version
You can manually update it by running:
csf --updateUninstall CSF Firewall
If you ever need to uninstall, you can do it by running this command from your Linux shell:
sh /etc/csf/uninstall.shConclusion:
You’ve successfully install & configured the CSF Firewall on WHM, enhancing the security of your server and hosting accounts. Regularly review and update your CSF settings to adapt to changing security requirements. CSF provides an additional layer of protection against unauthorized access and malicious activities, making your server more secure and reliable.
