Online visibility is the most powerful way to present yourself or your business to the world. Your own website can be an effective way to make you accessible. Nowadays you can make a website within just a couple of minutes. I will show you the absolute path of how you can make your website in just 5 minutes.
WordPress is the most widely used CMS for creating any type of website. Personal blog, portfolio, business website whatever you need, it can be created with WordPress. Every day about 50000 new websites are made with WordPress. I will show how you can make great use of the world’s most used blogging platform as well as complete CMS to have your WordPress Blog.
To create a website by yourself, WordPress is the most useful Content Management System even if you don’t have any basic knowledge of HTML or CSS. You don’t need to design anything with coding or hire someone to make your website complete. I will go through step by step to create a website with WordPress from scratch.
What do you need to start a WordPress blog?
- An easy, catchy and small domain name (I.e vernalweb.com)
- A web hosting account (Where your blog will be hosted)
Choose a WebHost:
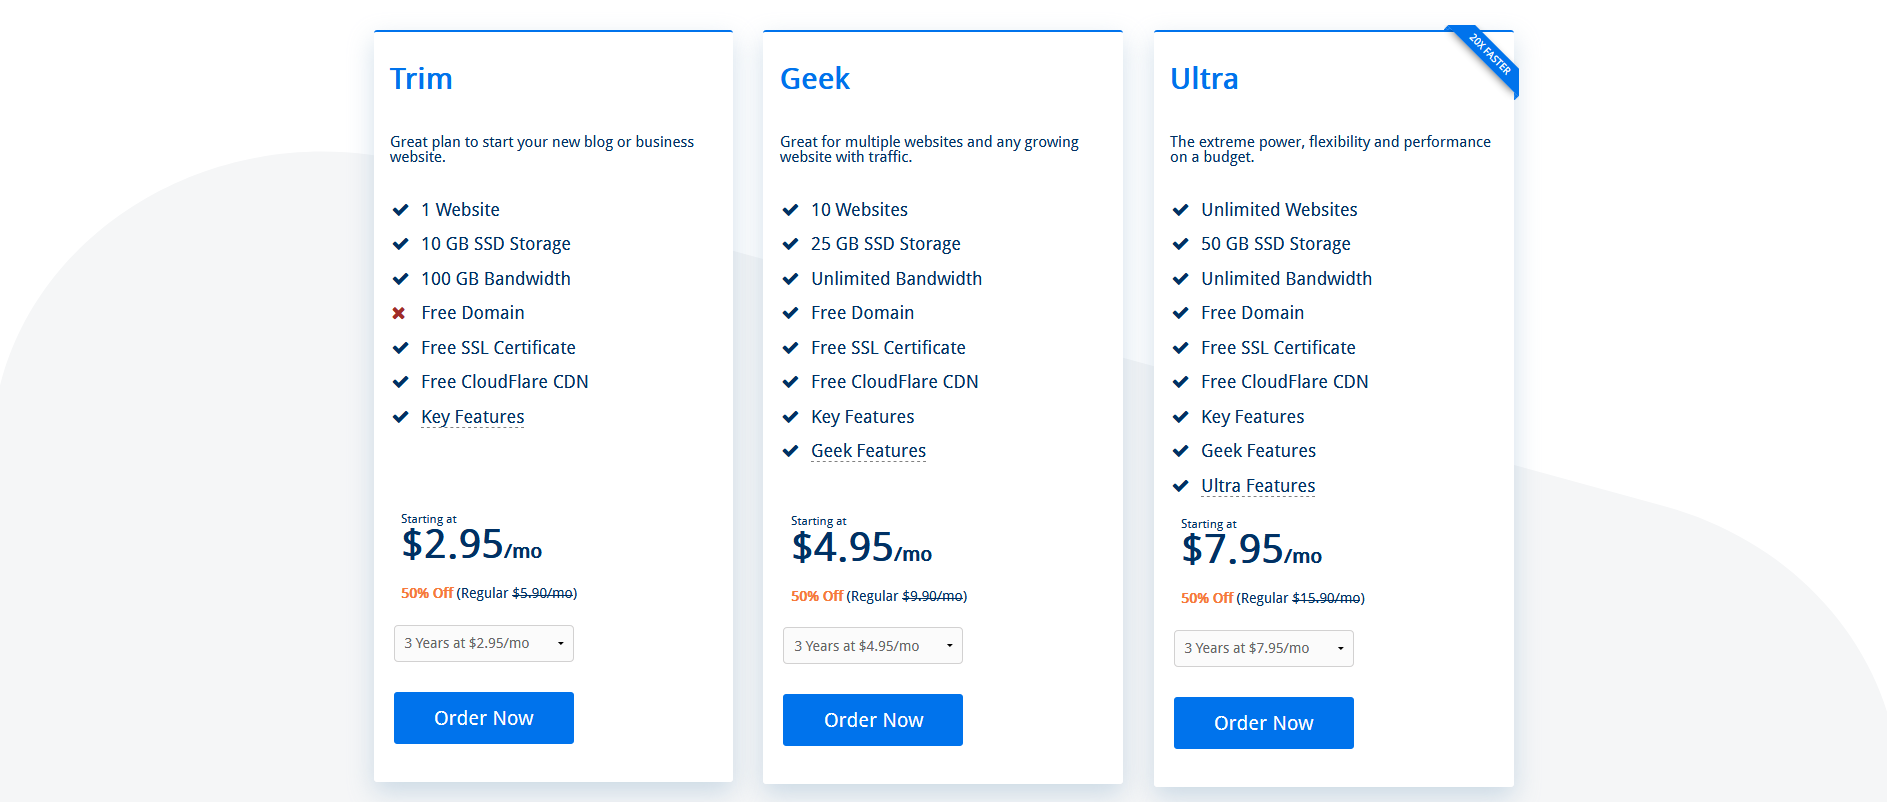
To start your website, you need a reliable & affordable hosting provider that suits your need. There are thousands of web hosting companies that provide hosting services. But need to keep in mind that not all the providers are worthy enough to serve you. Let’s see how to get your web hosting account activated within just 1 minute. You can choose WordPress Hosting.
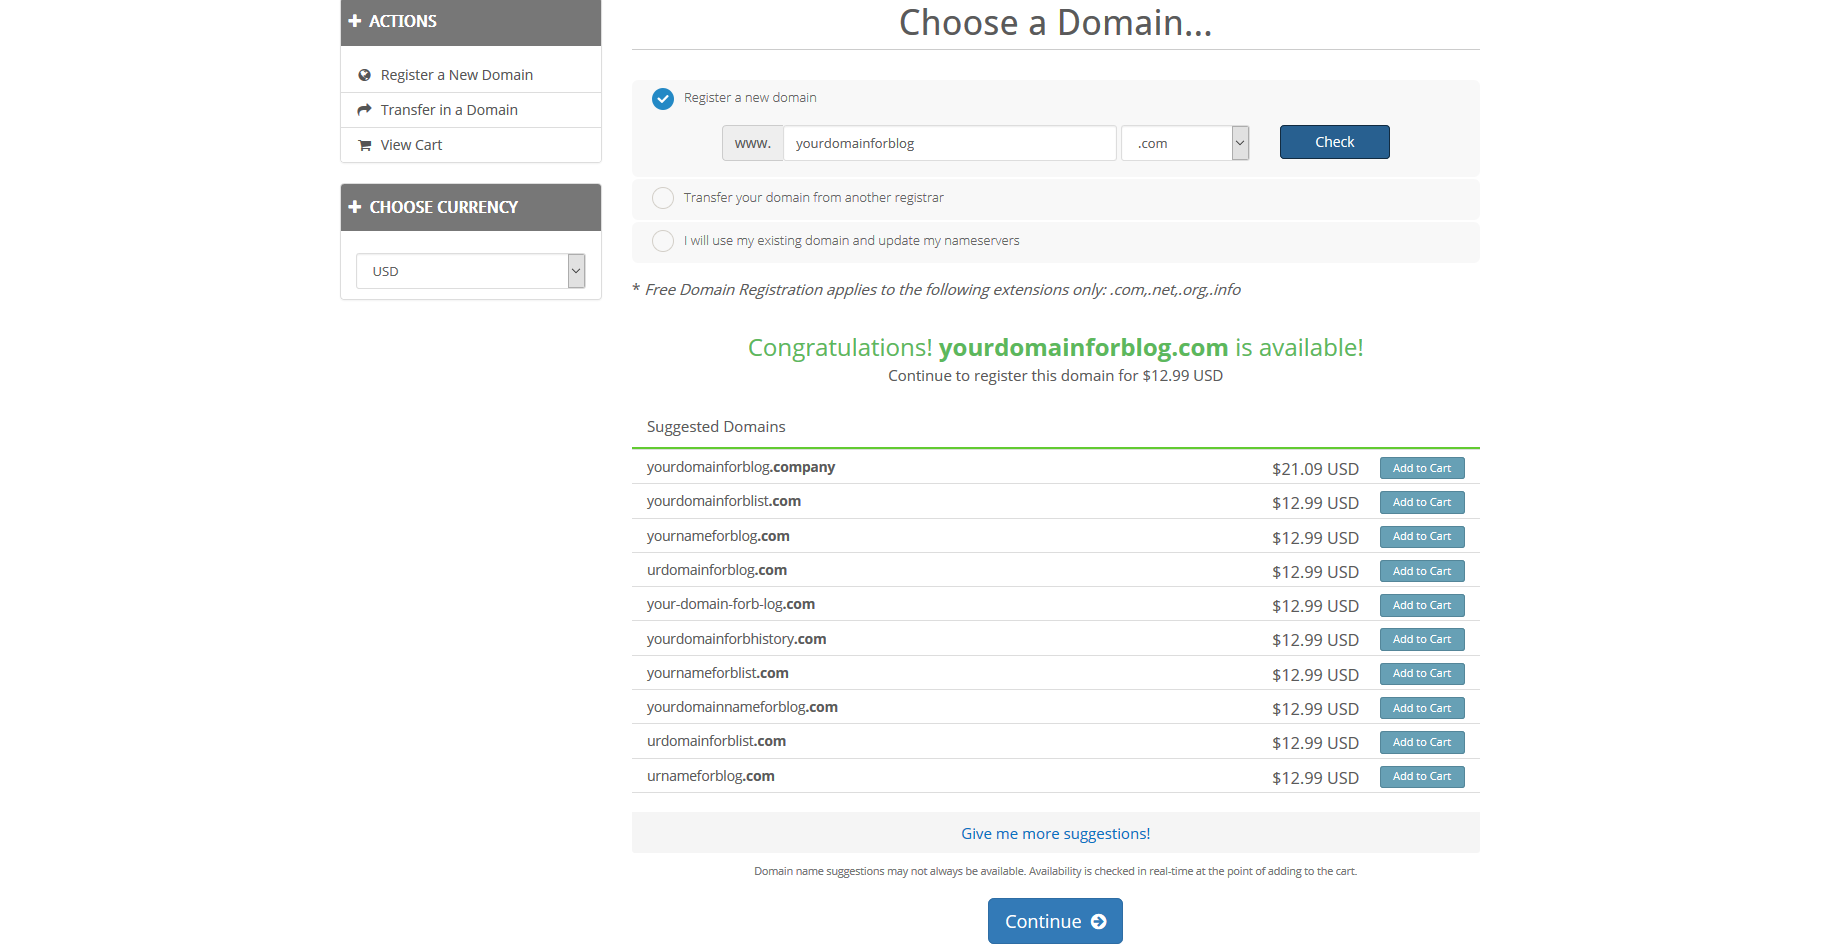
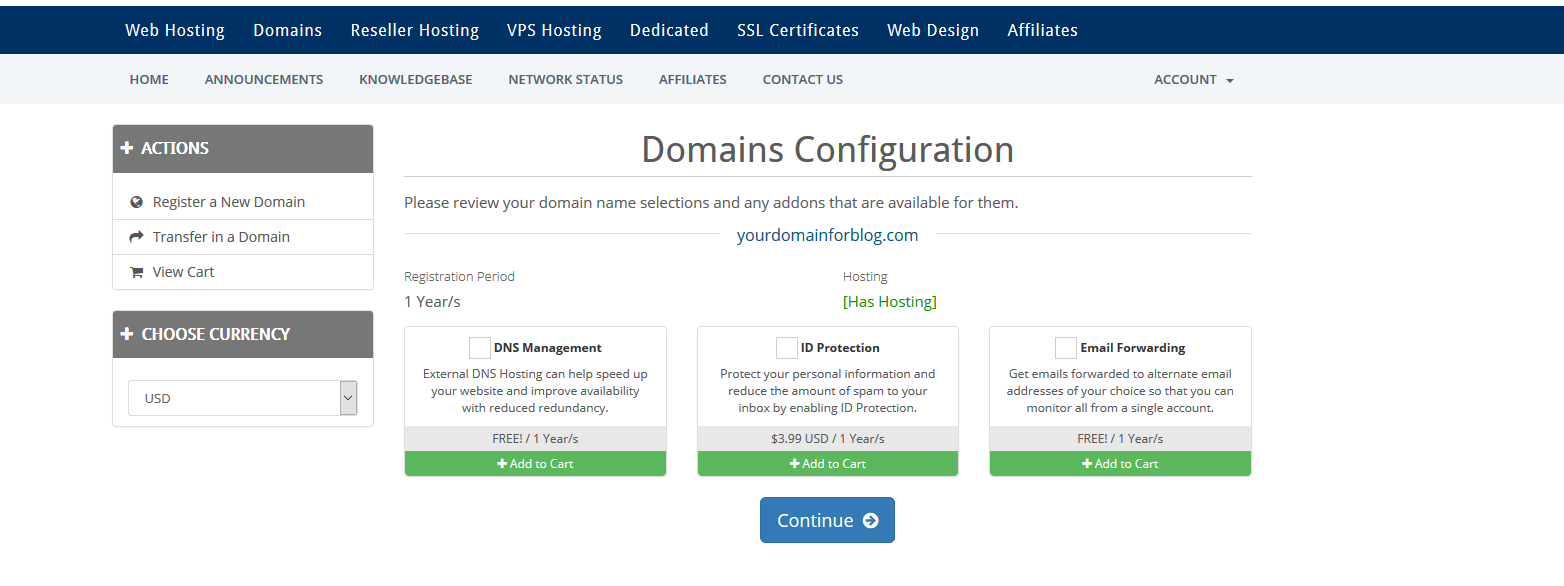
Click on the order button and you will be in the domain search panel. Choose a good domain name and hit the search button. With this hosting account, you will get free domain.
If the domain is available, scroll down and click on the continue button.
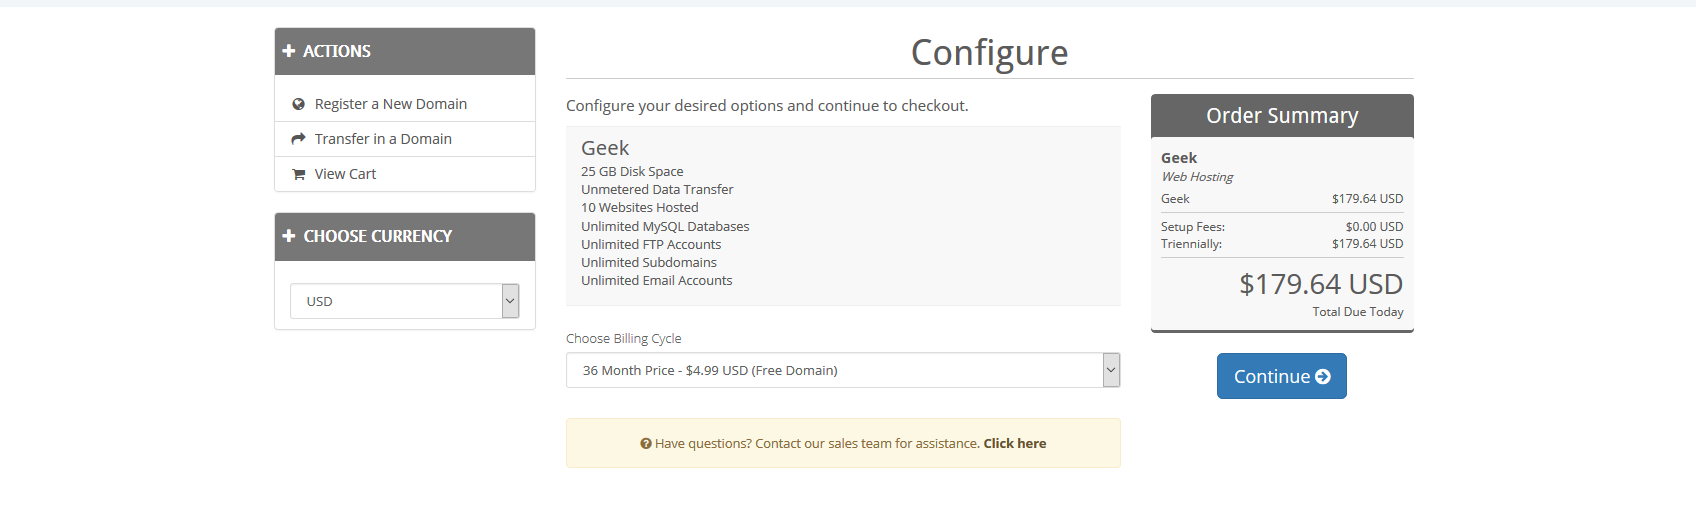
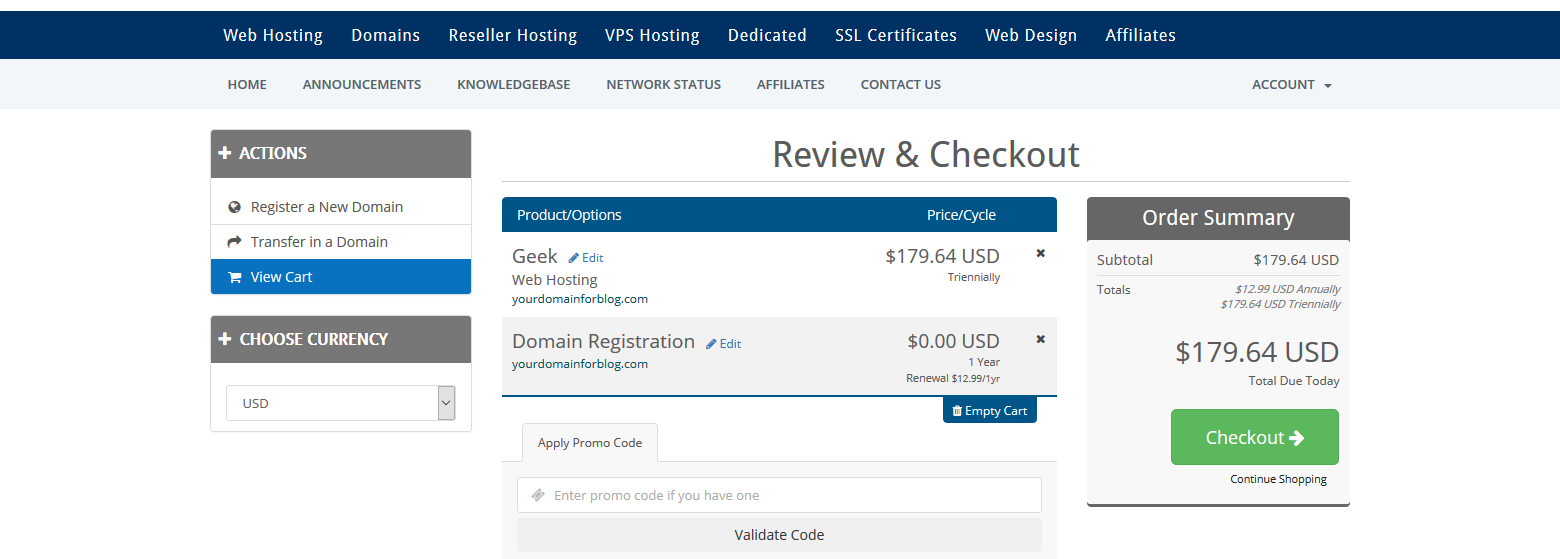
And again click on the continue button under the Order Summery section.
If you need domain privacy protection, you can select here. Now click on the continue button.
Now click on the Checkout button.
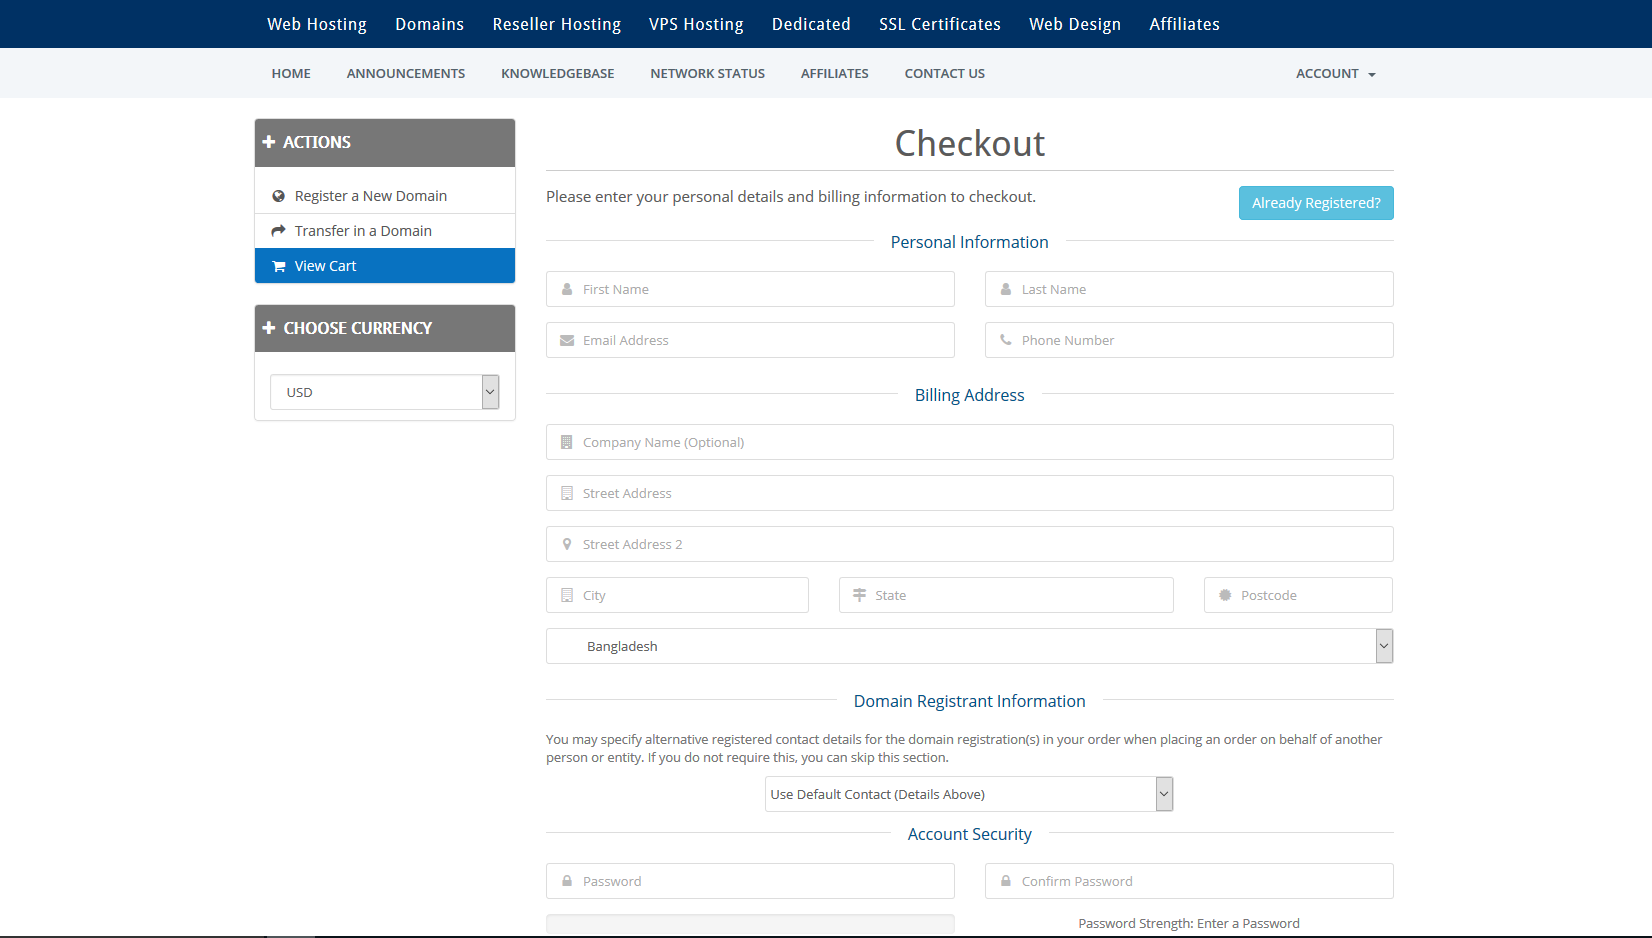
It’s time to input your personal information to sign up.
Scroll down and select the payment gateway. Make the payment and you are done.
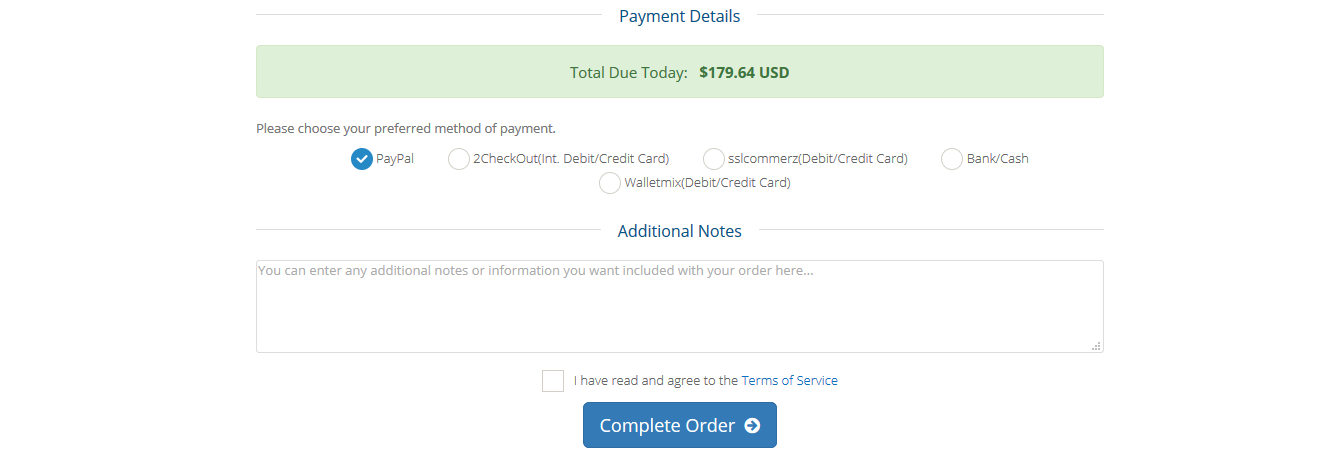
You will get your web hosting account activated instantly and all details of your control panel will be given to your email address.
Installing WordPress
Now you are ready to install WordPress with just a few clicks. Login to your cPanel control panel with user and password. With Softaculous You can install your Blog in less than 1 minute.
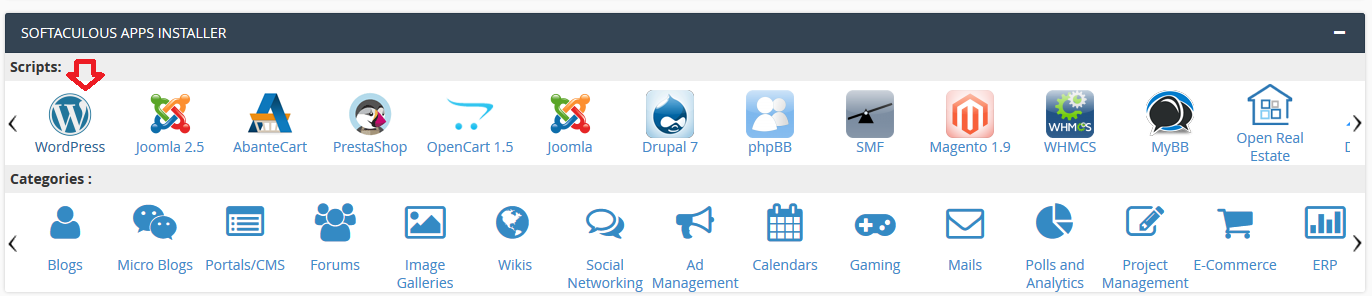
Now go to the “SOFTACULOUS APP INSTALLER” section and select WordPress.
Click on the “install” section in the menu and input the following information:
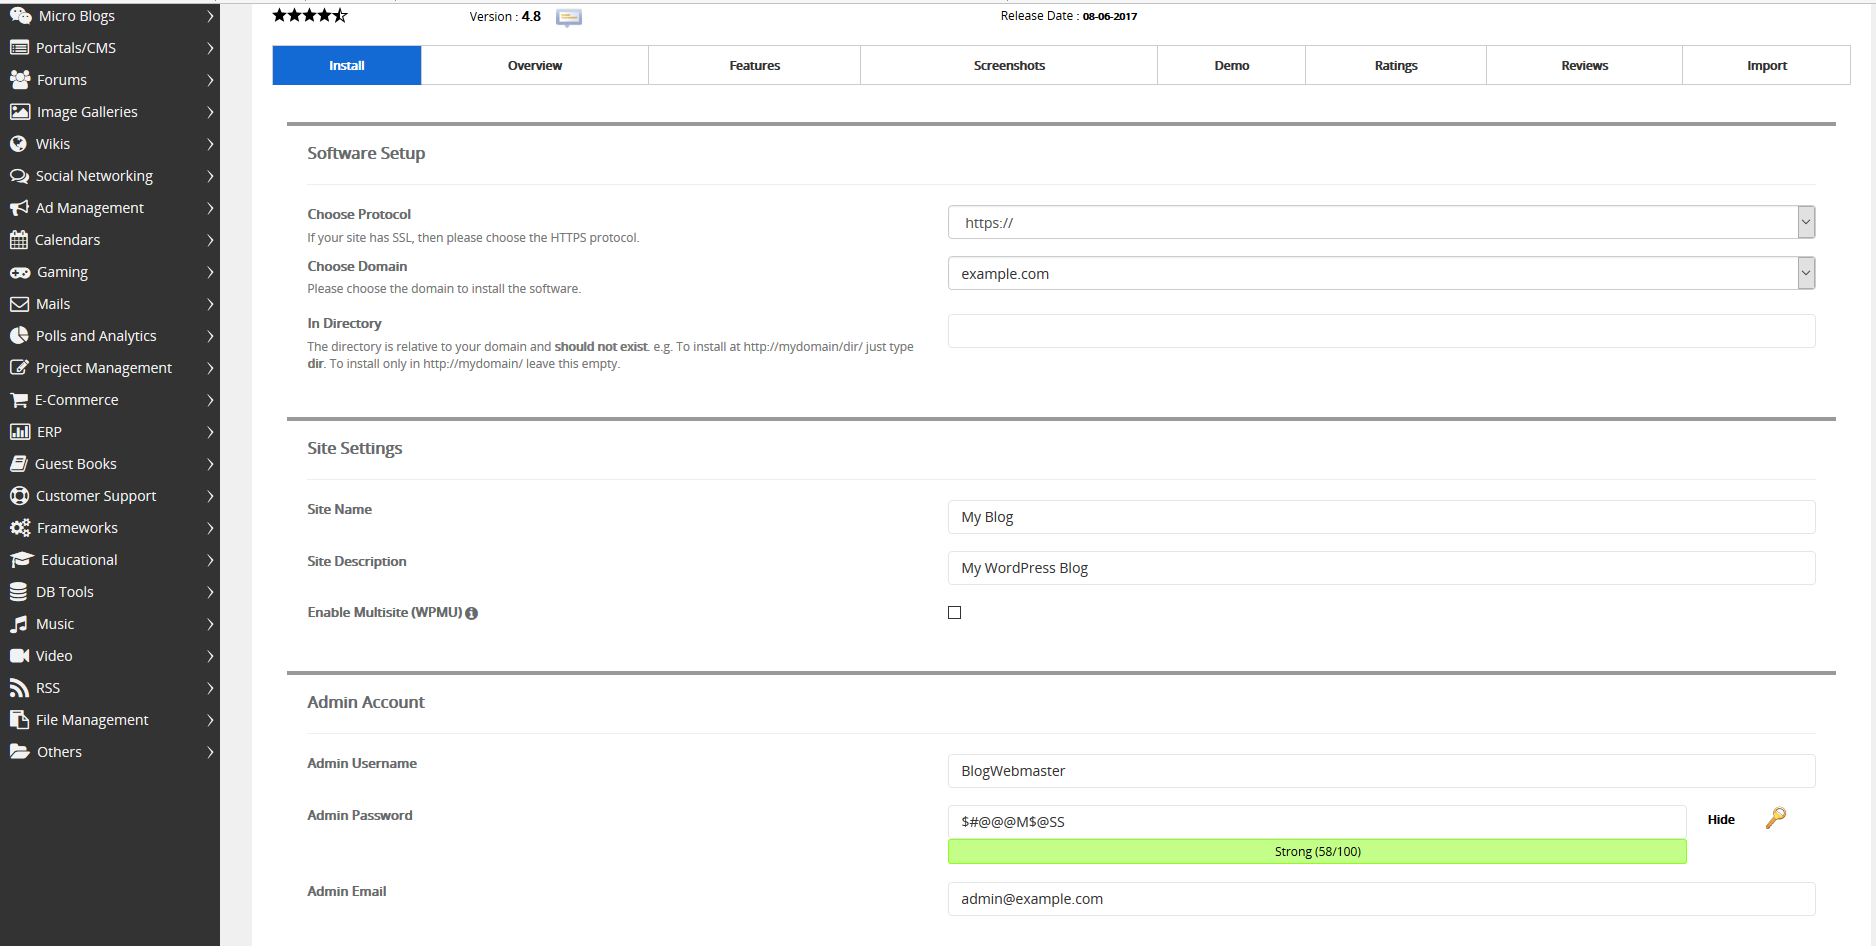
Please keep your administrator “User” & “Password” in a safe place. You will need them to login to blog dashboard. And make sure that your email address is authentic.
You are now in the final step of installation. Click Install and now your WordPress Blog has been created.

You can login to your WordPress Blog dashboard and publish your first blog post.
Using Your WordPress Blog:
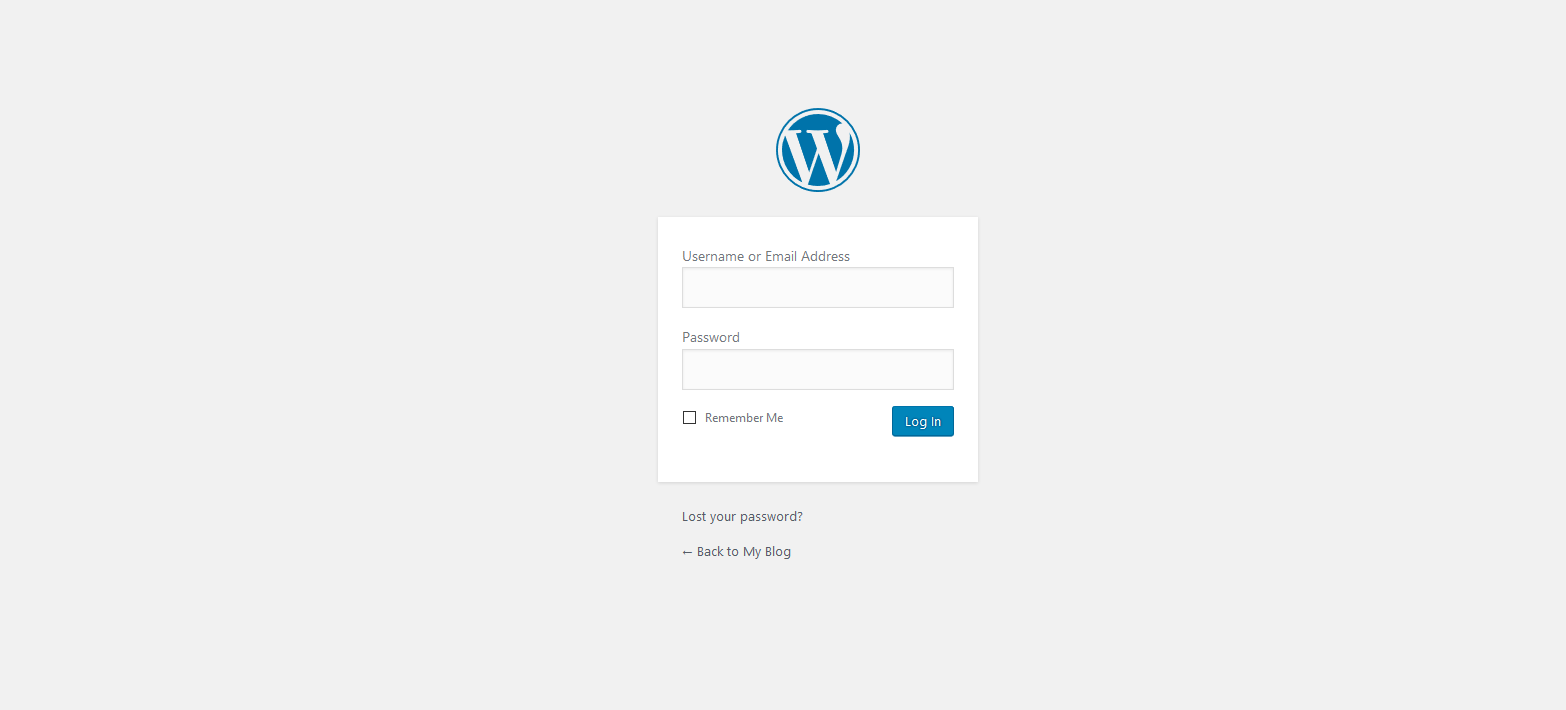
WordPress has two parts. One is the front end and another is the back end. The front end is visible to the public. Your visitors will see is part. And back end is used for only the website webmasters. You can maintain your blog/website in the back end which is called dashboard. You can change the content of your website on the dashboard. To access your dashboard, you will need the administrative user and password.
Making your first blog post:
To create a blog post you can go Posts -> All Posts and see there is already a default post “Hello World”. To make a new post click on the Ad New link and you will be in the post creating page. Here you can add the title and start writing your post.
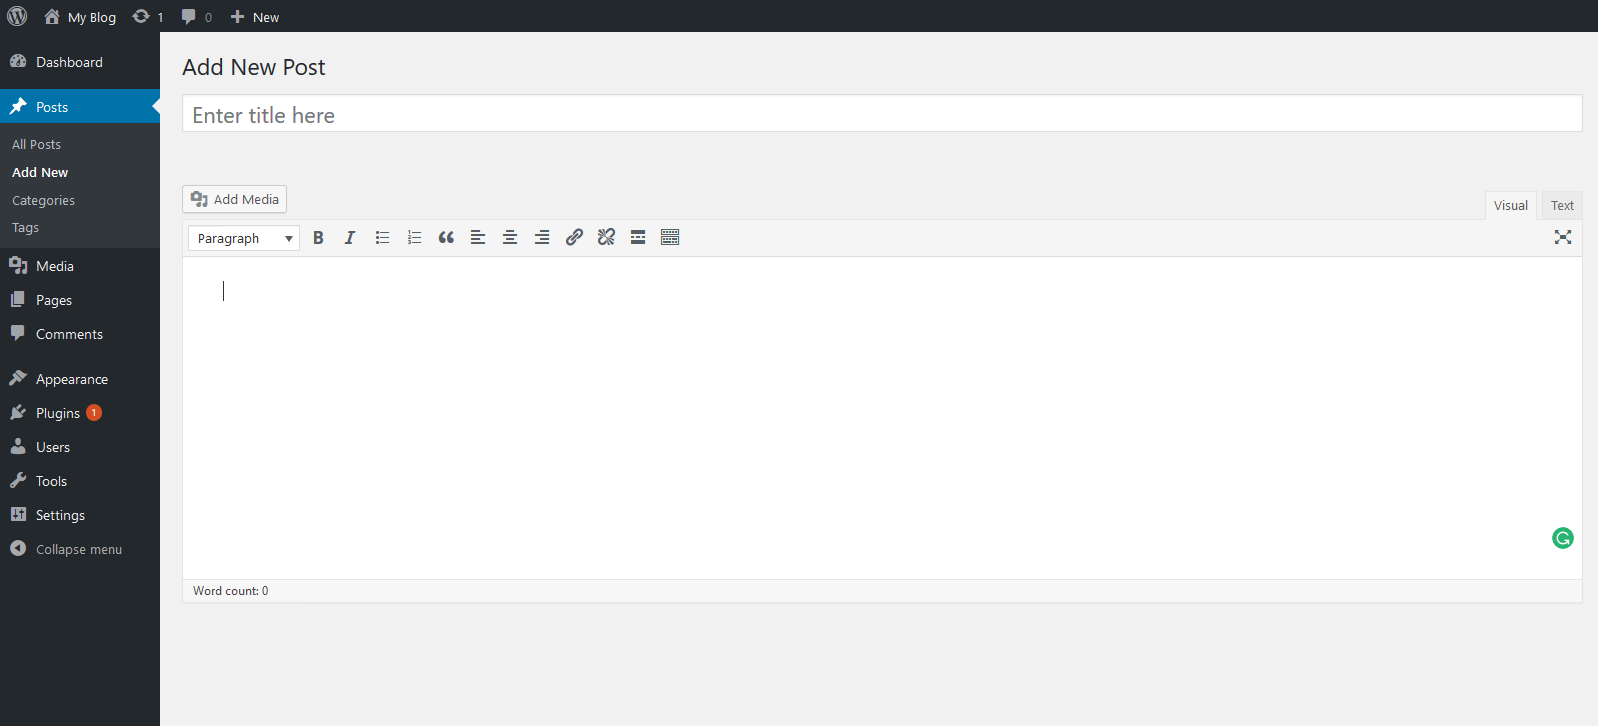
If you want to include any image, you can click on the “Add Media” button, and then you can select and upload an image from your folder. You can adjust the image size and alignment it; after you are done, you can simply click the “Insert into post” button.
If you are done with your post, click on the “publish” button on the right side.
You have published your first blog post. You can browse your website and you will find the post. Now anyone can visit your website and read your post.